My Account
The customer account: menu, orders, downloads, addresses and details, or login and registration for visitors. Place it on the My account page.
On this page
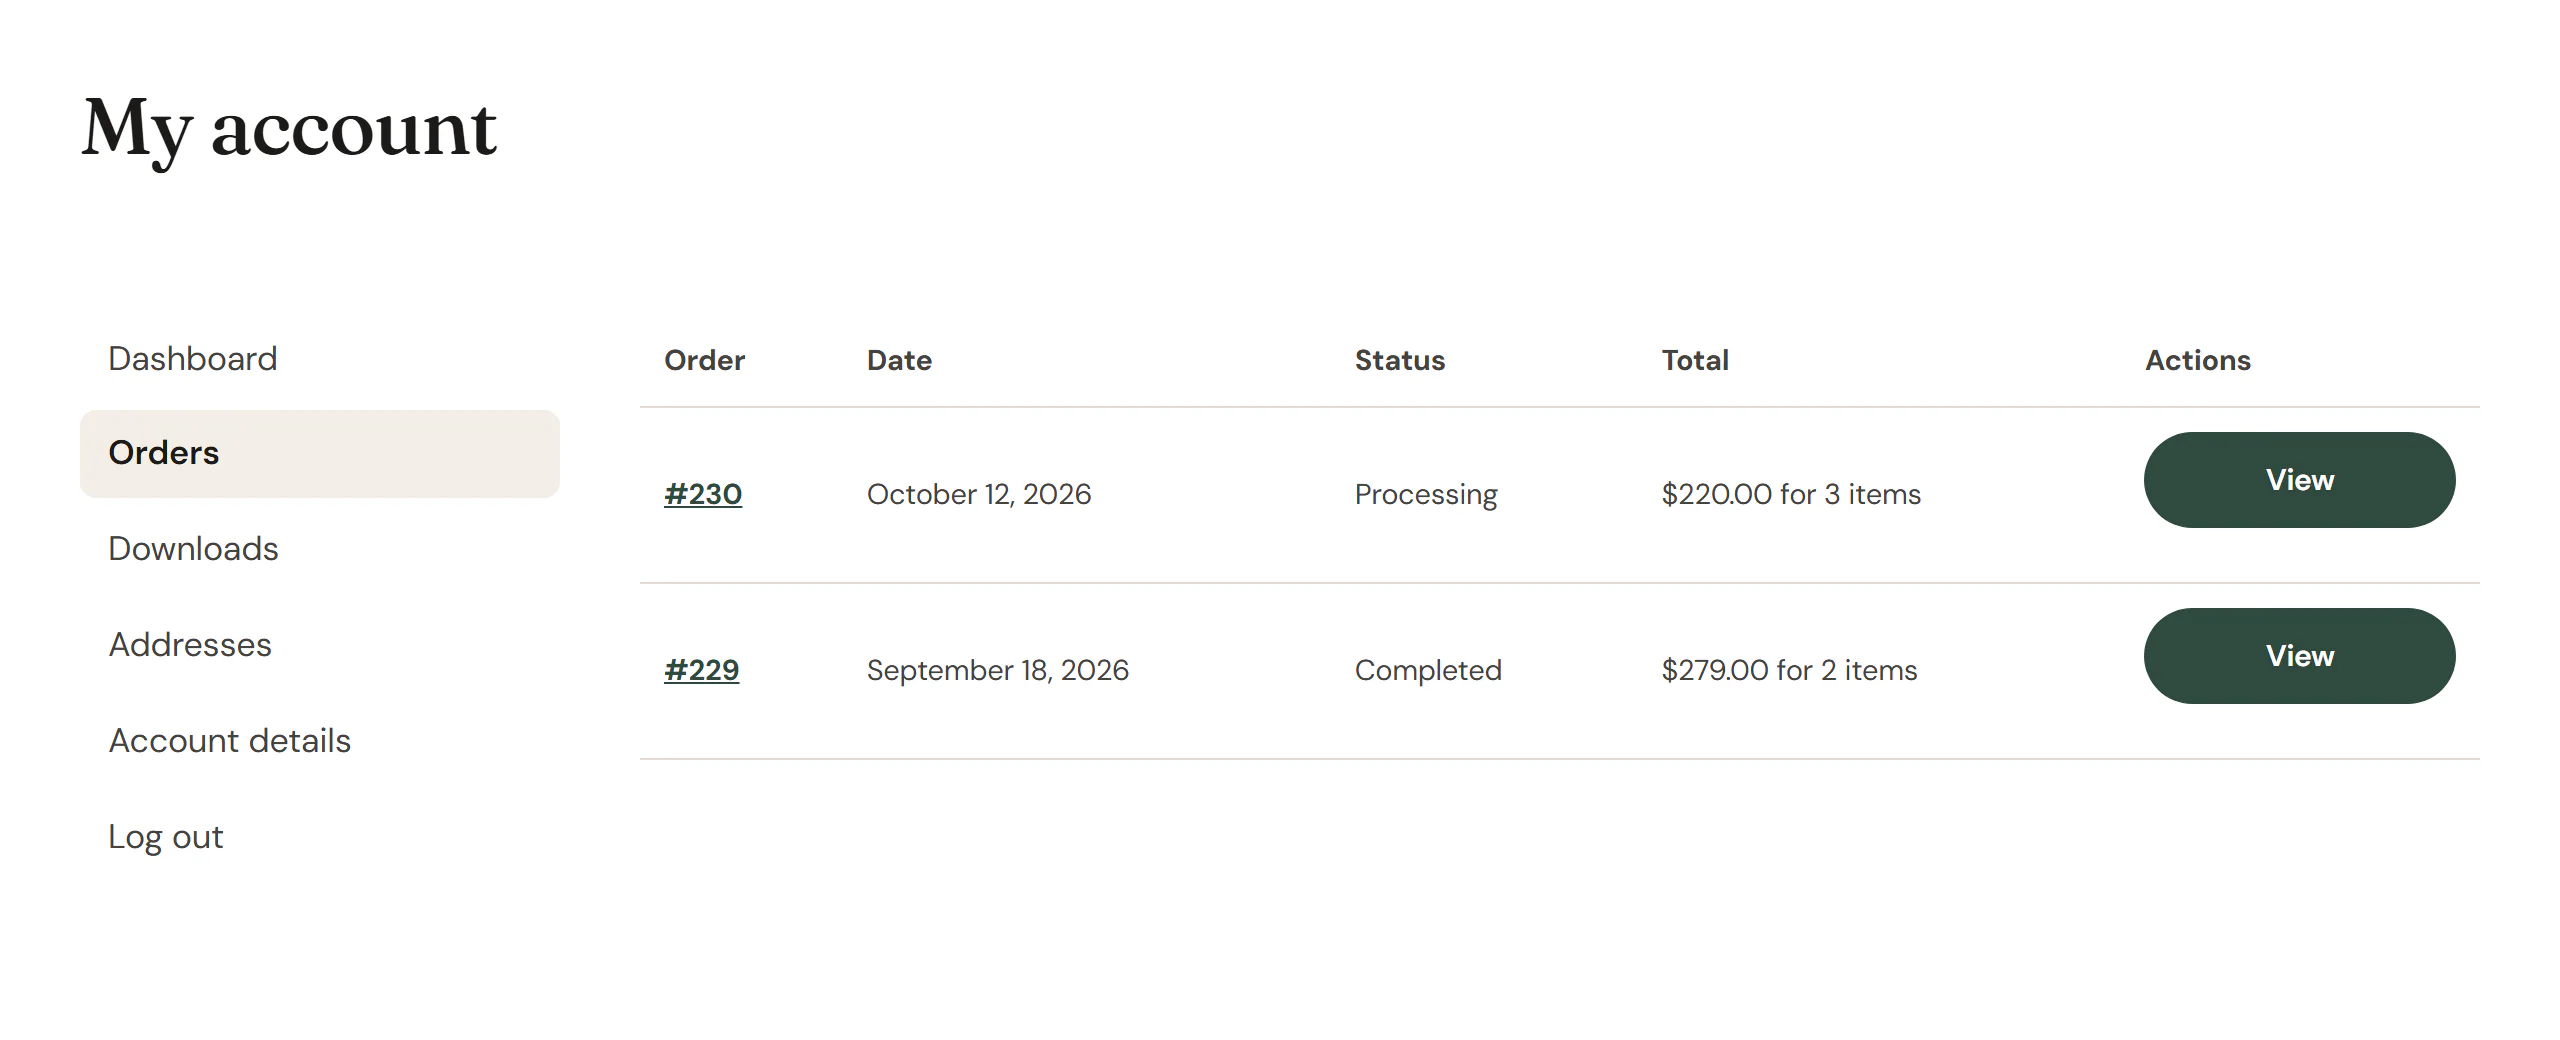
The My Account widget shows WooCommerce's account area. Logged-in customers see the account menu (Dashboard, Orders, Downloads, Addresses, Account details, Log out, and pages that extensions add, such as subscriptions) with the chosen page beside or below it. Visitors who are not logged in see the login form with its lost password link, and the registration form when your store allows it. It is WooCommerce's classic account area with your layout and styles, so account extensions keep working.
Where to place it
Place the widget on your store's account page: the page chosen as My account page in WooCommerce → Settings → Advanced → Page setup. WooCommerce's links and emails lead there. See Cart, checkout & account for the steps.
Any page that holds the My Account widget counts as an account page for WooCommerce, so its scripts and checks work there too.
Whether visitors can register on this page is a WooCommerce setting, in WooCommerce → Settings → Accounts & Privacy.
In the editor
Preview as chooses which view you design:
- Logged-in customer (default) shows the account menu and the dashboard, with your own user account.
- Visitor (login form) shows the login form, and the registration form if your store allows it.
It only changes the editor. On the site, each visitor sees what fits them. The forms in the editor cannot be sent.
Add a My Account
Open your account page with Edit with Uncoder. Then click Insert in the rail on the left, find My Account in the WooCommerce group (or type "account" in the search box) and drag it into a section. See Add elements.
Content tab settings
| Setting | What it does |
|---|---|
| Menu | Beside the content or Above the content. Empty: beside on desktops, above on phones. Can differ per device. |
| Menu width | Width of the menu when it is beside the content. Can differ per device. |
| Gap | Space between the menu and the content. Can differ per device. |
| Preview as | Logged-in customer or Visitor (login form). Editor only: which view to design. Default: Logged-in customer. |
Design tab settings
| Section | Settings |
|---|---|
| Menu | Typography, Text color, Current page text, Current page background, Item padding and Item radius. |
| Content | Typography and Text color of the account pages. Under Headings ("Login", "Register", "Order details" and the other section titles): Typography, Color and Alignment. Under Login and registration boxes: Background, Border, Border radius and Padding. |
Fields follow the Design System's form styles and buttons follow Design System → Buttons. See Buttons. The Design tab also has the sections every element shares: Spacing & position, Background & border and Mask. See Spacing, size & position.
Behaviour tab
The Behaviour tab has the settings every element shares: anchor and classes, entrance animations, motion effects, visibility per device, display conditions and interactions. See Visibility.
Tips
- Design both views: switch Preview as to Visitor (login form) and check the login and registration boxes too.
- Link to the account page from your header with a Button or an Icon whose link is the Shop page link dynamic tag set to My account. See Dynamic tags.