Cart, checkout & account
Design WooCommerce's Cart, Checkout and My account pages, and add a cart icon to your header.
On this page
WooCommerce sends shoppers through three pages of its own: the cart, the checkout and the customer account. Design them with the Cart, Checkout and My Account widgets. They show WooCommerce's classic cart, checkout and account area in your layout and styles, so payment gateways, shipping calculators, coupons and account extensions keep working. A Mini Cart in your header completes the set.
Find the pages
WooCommerce created these pages when you set it up. To see which ones they are, go to WooCommerce → Settings → Advanced and look under Page setup: Cart page, Checkout page and My account page. WooCommerce's own links and emails, such as View cart, Proceed to checkout and the account links in order emails, always lead to these pages, so design these pages rather than new ones.
Design the cart page
Open the page
In Pages, open your cart page and click Edit with Uncoder. Once the page is built with Uncoder, it shows your Uncoder design instead of the content it had in the WordPress editor.
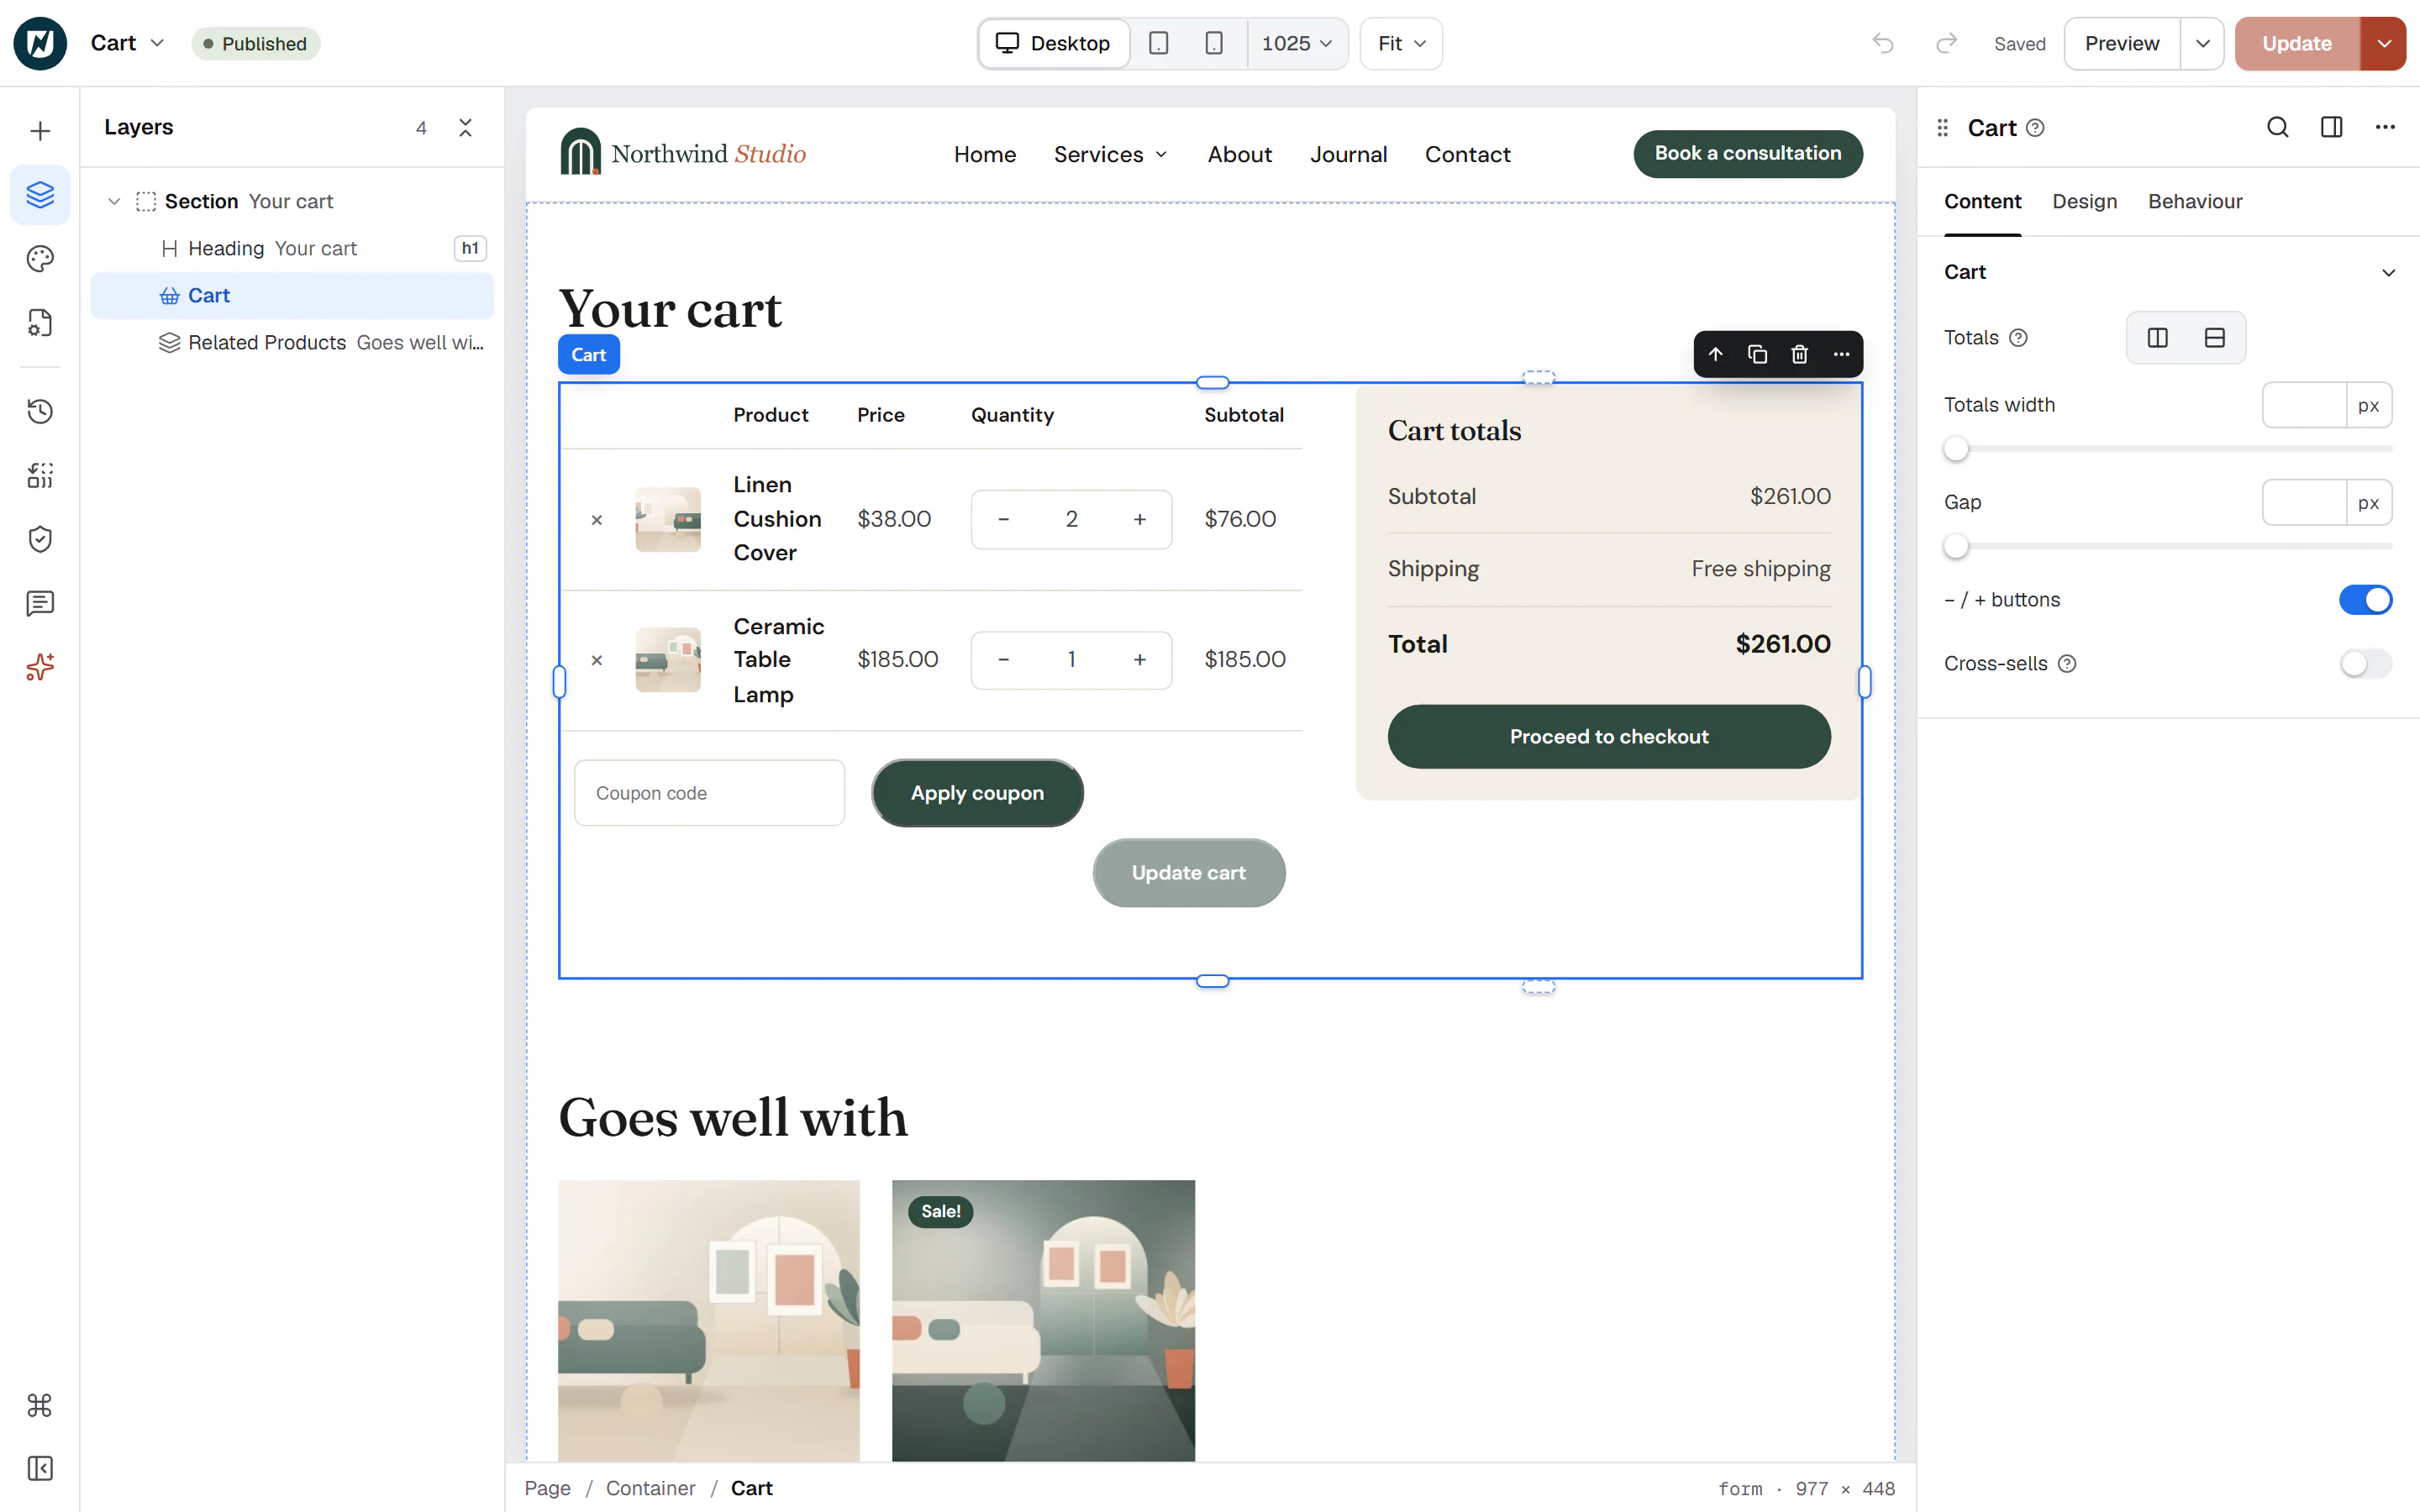
Add the cart
Add a section, a heading such as "Your cart" if you like, and the Cart widget from the WooCommerce group.
Choose the layout
In Totals, choose Beside the products or Below the products. Empty puts the totals beside the products on desktops and below them on tablets and phones.
Publish
Click Publish (or Update).
Below the cart, a Related Products widget with Show set to Cross-sells of the cart suggests products that go with what is in the cart.
Design the checkout and account pages
Do the same for the checkout page with the Checkout widget, and for the account page with the My Account widget.
- Checkout. Choose where the Order summary goes and whether it stays in view while scrolling. The "thank you" page after an order, and the page where customers pay for an order, appear at the checkout address, so the widget shows them too.
- My account. Choose whether the Menu sits beside or above the content. Use Preview as to design both the customer's view and the login form that visitors see.
Keep these pages focused: a header, the widget, and a footer. Shoppers on the checkout page should only have to finish their order.
What you see in the editor
The editor has no cart and no customer session, so the three widgets show sample content with the same look: a cart and an order summary with your two latest products, the billing fields of your store's country, your enabled payment methods, and your own account dashboard. The sample forms cannot be sent. On the site, every visitor sees their own cart, checkout and account.
Other pages holding these widgets
A page that holds the Cart, Checkout or My Account widget counts as that page for WooCommerce, so WooCommerce's scripts and checks work there. Still, WooCommerce's links point to the pages in Page setup. If you build the cart on a new page, choose that page as the Cart page in WooCommerce → Settings → Advanced.
Add a cart icon to the header
Open the header
Go to Uncoder → Theme Builder and edit your header template.
Add the Mini Cart
Drag the Mini Cart widget from the WooCommerce group into the header row, usually next to the menu.
Choose what a click does
In On click, choose Open the cart drawer (a panel slides in with the cart) or Go to the cart page. To style the drawer, turn on Show the drawer while editing.
Publish
Click Publish.
The count and the drawer update by themselves when a product is added without reloading the page, also on cached pages. On the cart and checkout pages, the icon links to the cart page. See Mini Cart.
Style the buttons and fields
The buttons in these widgets follow Design System → Buttons, and the fields the Design System's form styles. Their messages and prices follow Design System → Shop. To give WooCommerce pages that are not built with Uncoder the same buttons and fields, turn on Style all WooCommerce buttons and Style all WooCommerce fields in Styles → Shop. See Shop styles.