Woo Notices
WooCommerce messages such as "added to your cart" and form errors, where you place them.
On this page
The Woo Notices widget shows WooCommerce's messages where you place it: confirmations such as "“Linen apron” has been added to your cart.", information such as the coupon prompt, and errors such as "Please choose product options before adding this product to your cart." On the site the widget stays empty until WooCommerce has something to say.
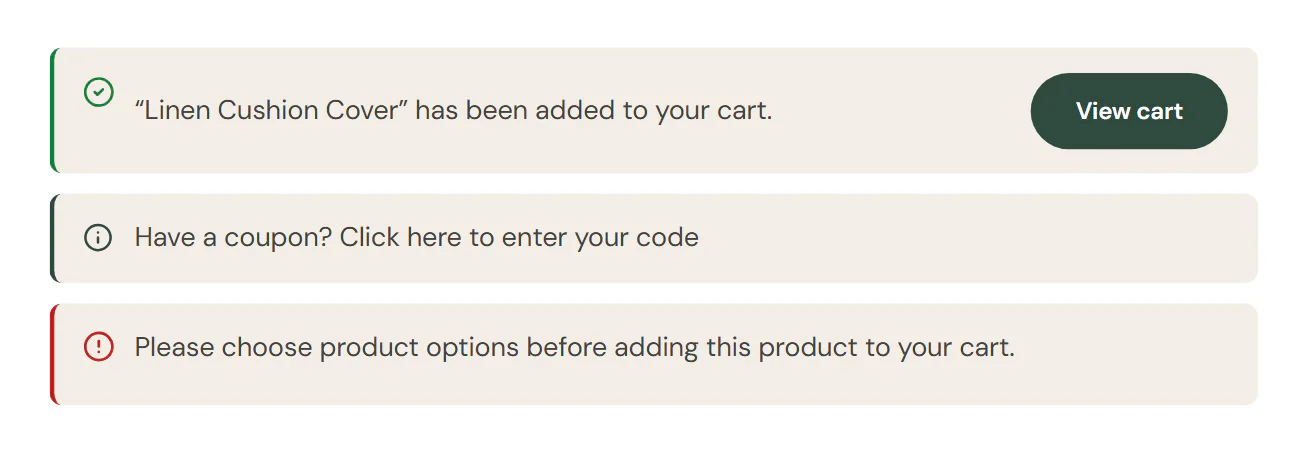
Where the messages appear
- On a product page. Without this widget, WooCommerce prints its messages above the product, at the top of your product template. When the template has a Woo Notices widget, they appear in the widget instead, and only there.
- After adding without reloading. When the Add to Cart widget adds products without reloading the page, its messages appear in this widget too.
- On other pages. Place it wherever WooCommerce messages should show, for example at the top of a landing page that sells a product. The Cart, Checkout and My Account widgets, and the Products widget on shop pages, show their own messages.
In the editor, the widget shows three sample messages, one of each kind, so you can style them.
Add Woo Notices
Open your product page template in the Theme Builder. Then click Insert in the rail on the left, find Woo Notices in the WooCommerce group (or type "notices" in the search box) and drag it near the top of the template, or right above the Add to Cart form. See Add elements.
Content tab settings
The Notices section of the Content tab only holds a note: the editor shows sample messages, and on the site the widget is empty until WooCommerce has something to say. There is nothing to set.
Design tab settings
| Section | Settings |
|---|---|
| Notices | Typography, Padding, Border radius and Space between notices for all messages. Then, for each kind, Success, Information and Error: Text color, Background and Accent (line and icon). |
Until you change them here, the colors come from Design System → Shop → Messages, which also styles the messages inside the other WooCommerce widgets. See Shop styles. The Design tab also has the sections every element shares: Spacing & position, Background & border and Mask. See Spacing, size & position.
Behaviour tab
The Behaviour tab has the settings every element shares: anchor and classes, entrance animations, motion effects, visibility per device, display conditions and interactions. See Visibility.
Tips
- Use one Woo Notices widget per page. Messages show once, in the first place that prints them.
- Set the message colors once in Design System → Shop rather than in each widget, so all WooCommerce messages match.